CCTV 101: Camera Power Explained
When it comes to CCTV camera power, there are a variety of options to choose from, ranging from low voltage 12 Volts DC and 24 Volts AC options to single-line solutions such as Power over Ethernet (PoE) and Power over Coax (PoC).
Regardless of the power type or method used, there are two main things to consider for long-term, trouble-free operation: Voltage and Amperage.
Voltage:
Voltage is the pressure exerted by an electrical circuit’s power source to move charged electrons (current) through a conducting loop, allowing them to perform work such as powering a camera.
Voltage is expressed in volts (V).
Voltage can be either alternating current (AC) or direct current (DC).
Amperage:
Amperage is the strength of an electric current flowing past a point in a circuit over a given time period.
Symbols used for amps:
A = amperes, for a large amount of current (1.000).
mA = milliamperes, a thousandth of an amp (0.001).
The following article provides Voltage and Amperage tips that low voltage camera installers can use to avoid common installation errors when connecting power to a CCTV camera. Use the links below to jump to each section of the page.
Voltage Tips
Amperage Tips

Tip #1: Check Voltage Prior to Installation
Before installing a CCTV camera, it’s crucial to check the camera’s voltage type before installation. Having the incorrect voltage type at the camera can result in irreversible damage and void the warranty.
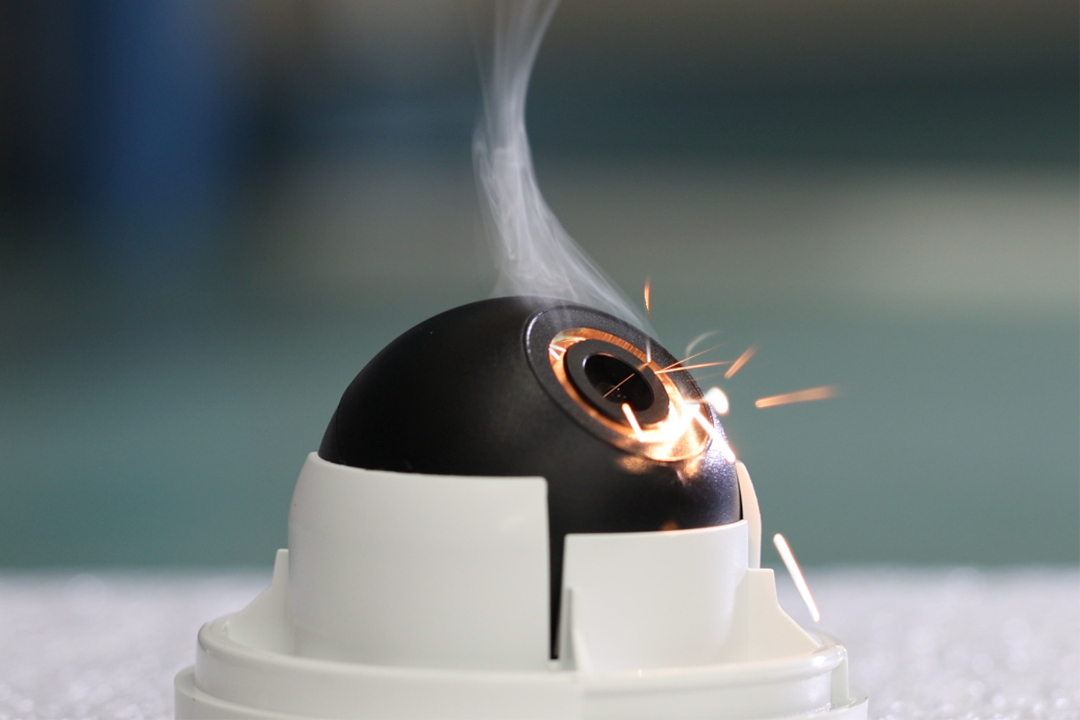
For example, a common mistake is connecting an AC 24 Volt power supply to a DC 12 Volt-only camera. Unfortunately, a camera can be fried in seconds if the wrong voltage is connected.
Using a dual voltage camera is a simple way to avoid frying a camera. You can safely power a dual voltage camera with either DC 12 Volts or AC 24 Volts without hesitation.

Tip #2: Calculate Voltage Drop
When running long wire runs to power a camera, it is common to encounter a problem in which the voltage delivered to the camera does not match the voltage measured at the power supply location. This is due to a drop in voltage. Voltage drop is the decrease in electrical potential along the path of a current flowing in an electrical circuit.
The amount of voltage drop is influenced by a variety of factors:
The longer the wire run, the greater the voltage drop.
The thinner the wire (higher gauge), the greater the voltage drop.
The higher the current draw of the camera, the greater the voltage drop.
The lower the source voltage, the greater the voltage drop.
As a result, it is critical to use a voltage drop calculation to calculate the voltage at the camera before running wire to the camera.
If your estimates show under-voltage, you may need to shorten the power cable, relocate the power supply closer to the camera, or use a larger gauge wire.
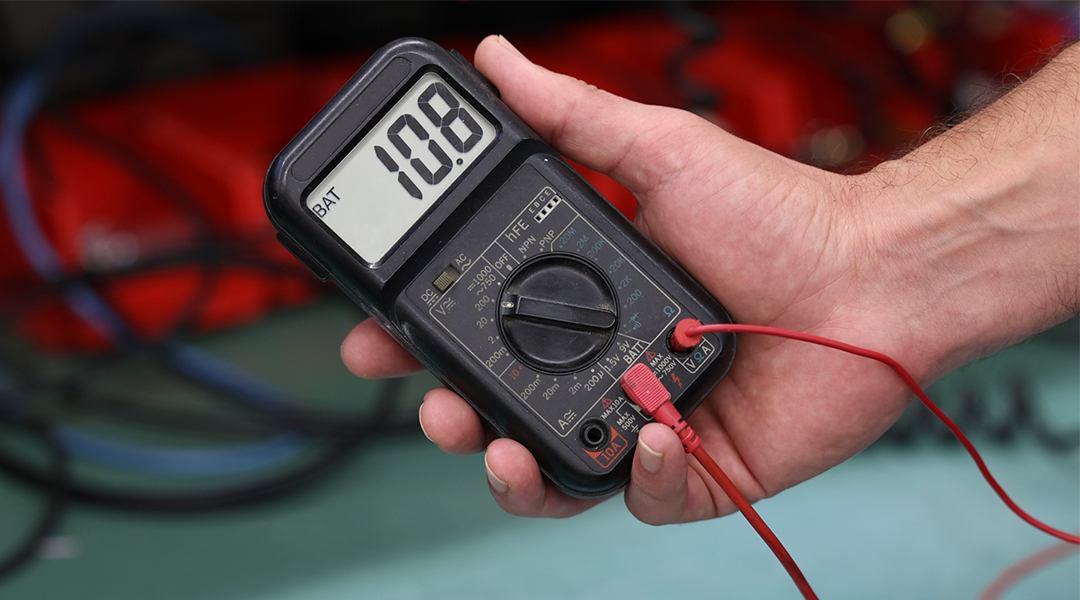
It’s also a good idea to use a voltmeter after installation to double-check the actual voltage at the camera.
A common rule of thumb is that a voltage drop of no more than 10% of the original voltage is acceptable; for example, 10.8V would typically be sufficient to power a 12V camera.
Use the voltage drop table in the link below to determine the appropriate wire size for your cable run distance.

Tip 3#: Plan for Maximum Power Draw
If your camera has infrared LEDs, built-in heaters, or a motorized lens, those features will use more power when they are turned on. Make sure your power supply has more than enough amperage to handle the camera’s maximum power draw.
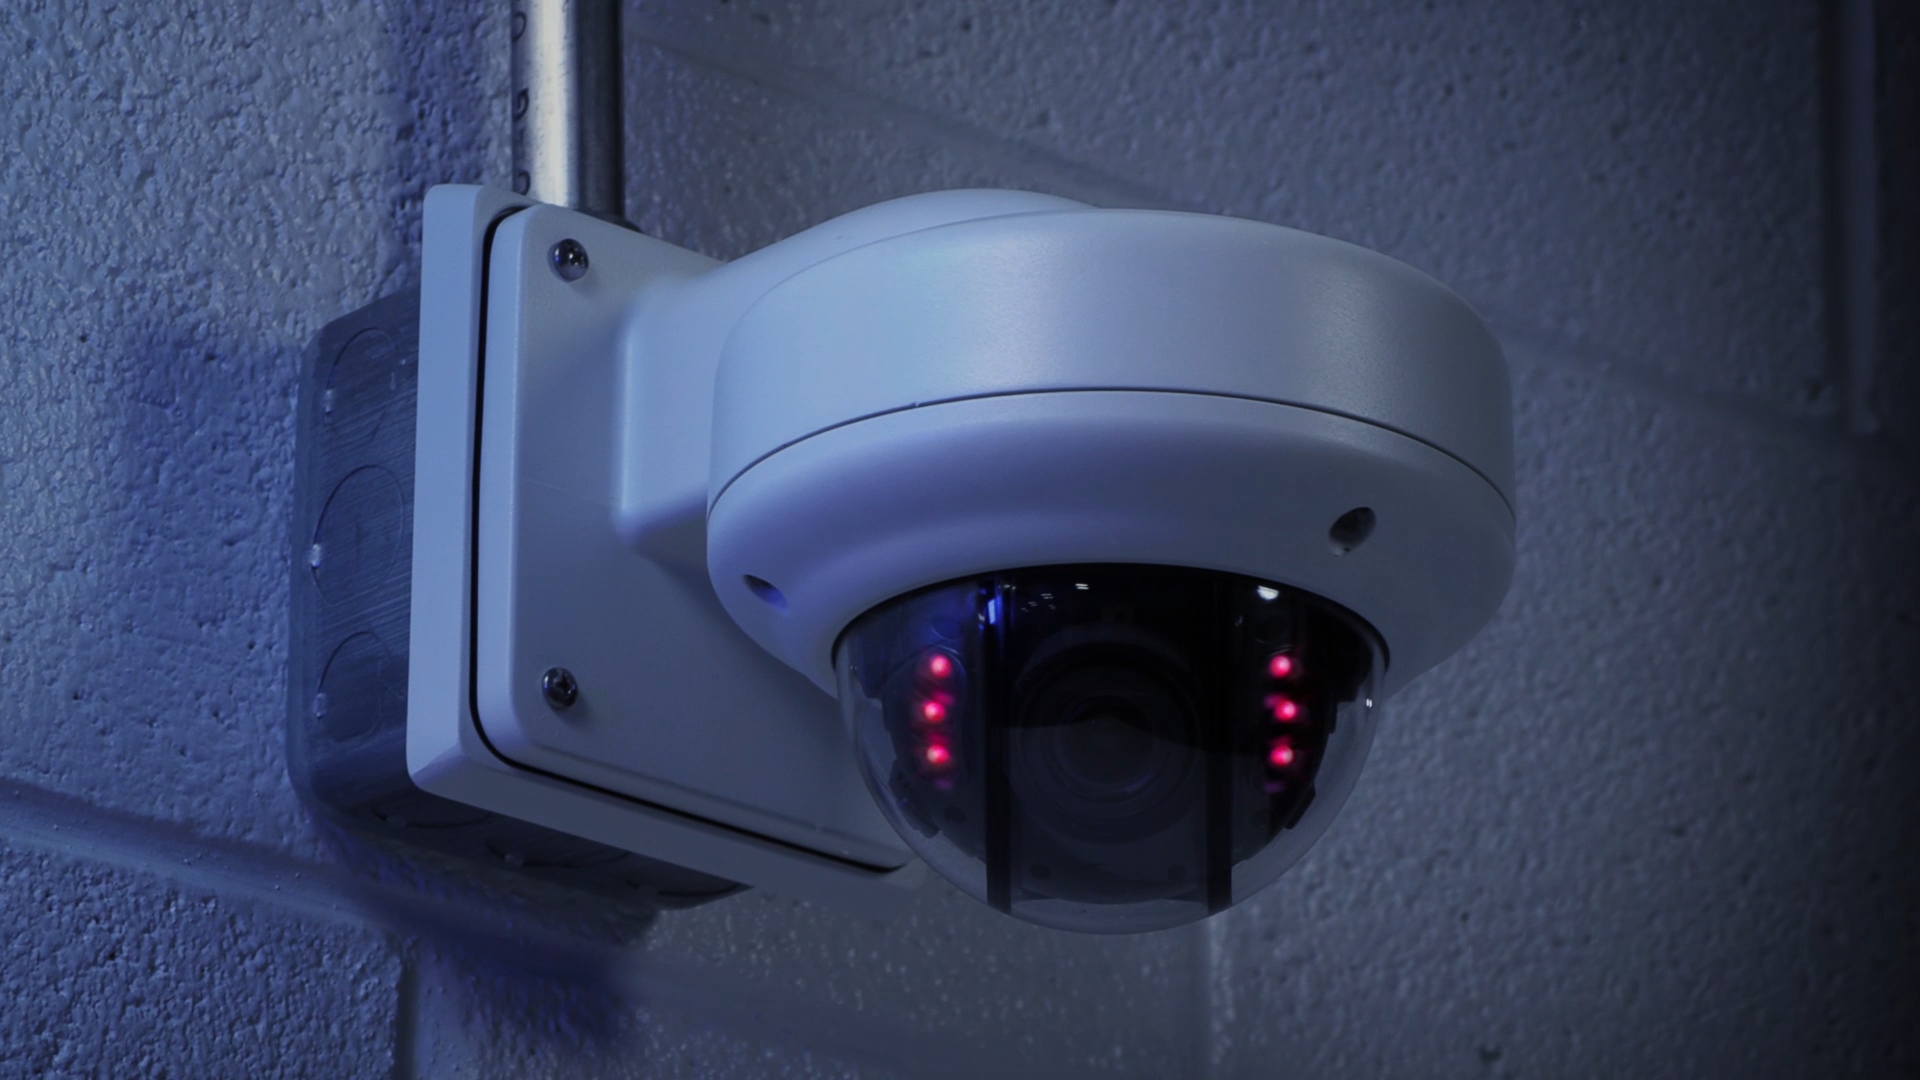
Take, for example, our CE-VX3QHD IR night vision bullet camera. This camera features 6 high intensity IR LEDs and and a 7~22mm (ƒ1.6) true day/night motorized autofocus lens.
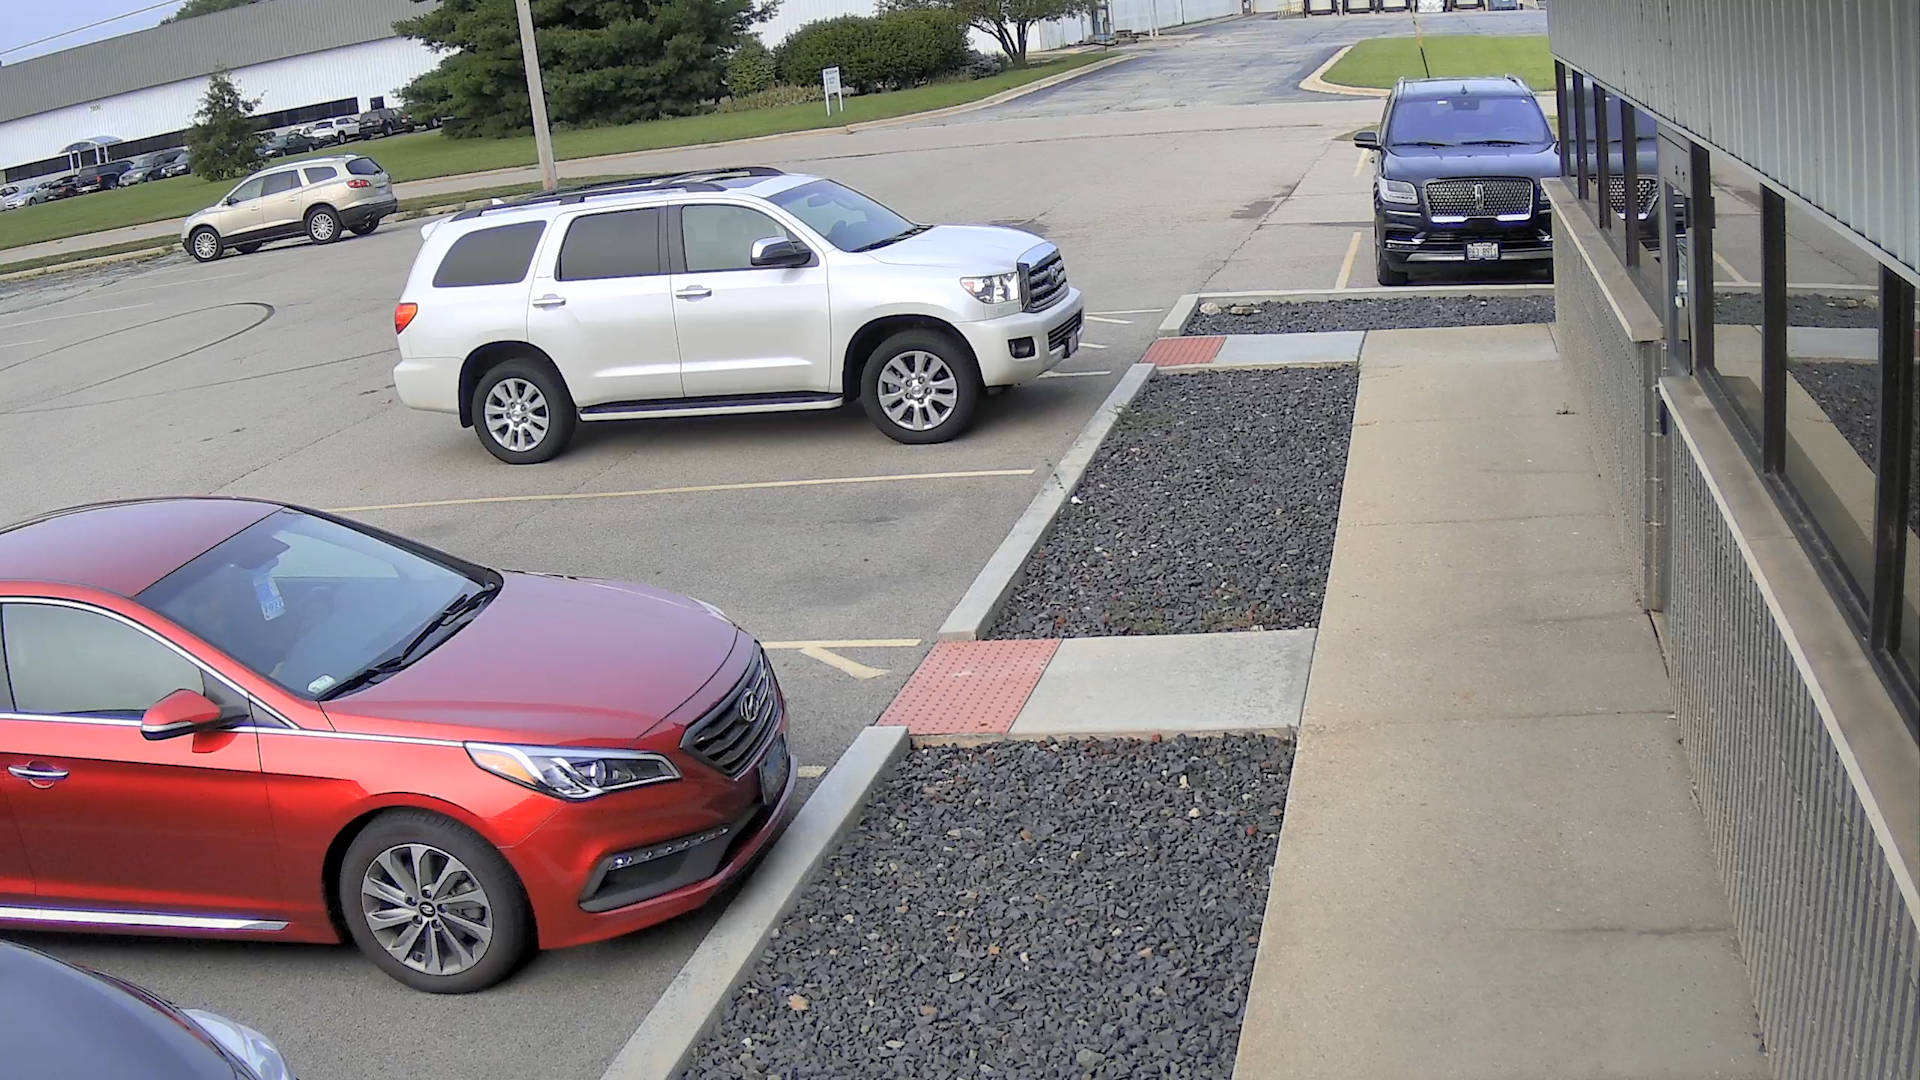
Daytime Image
The camera will function perfectly during the day, as shown in the image above, when powered by a 500mA power supply. This is due to the fact that it only uses 350mA during the day.
Nighttime Image
When the IR LEDs are turned on at night, the camera shuts down. The 500mA power supply does not have enough amperage to cover the camera’s maximum power draw.
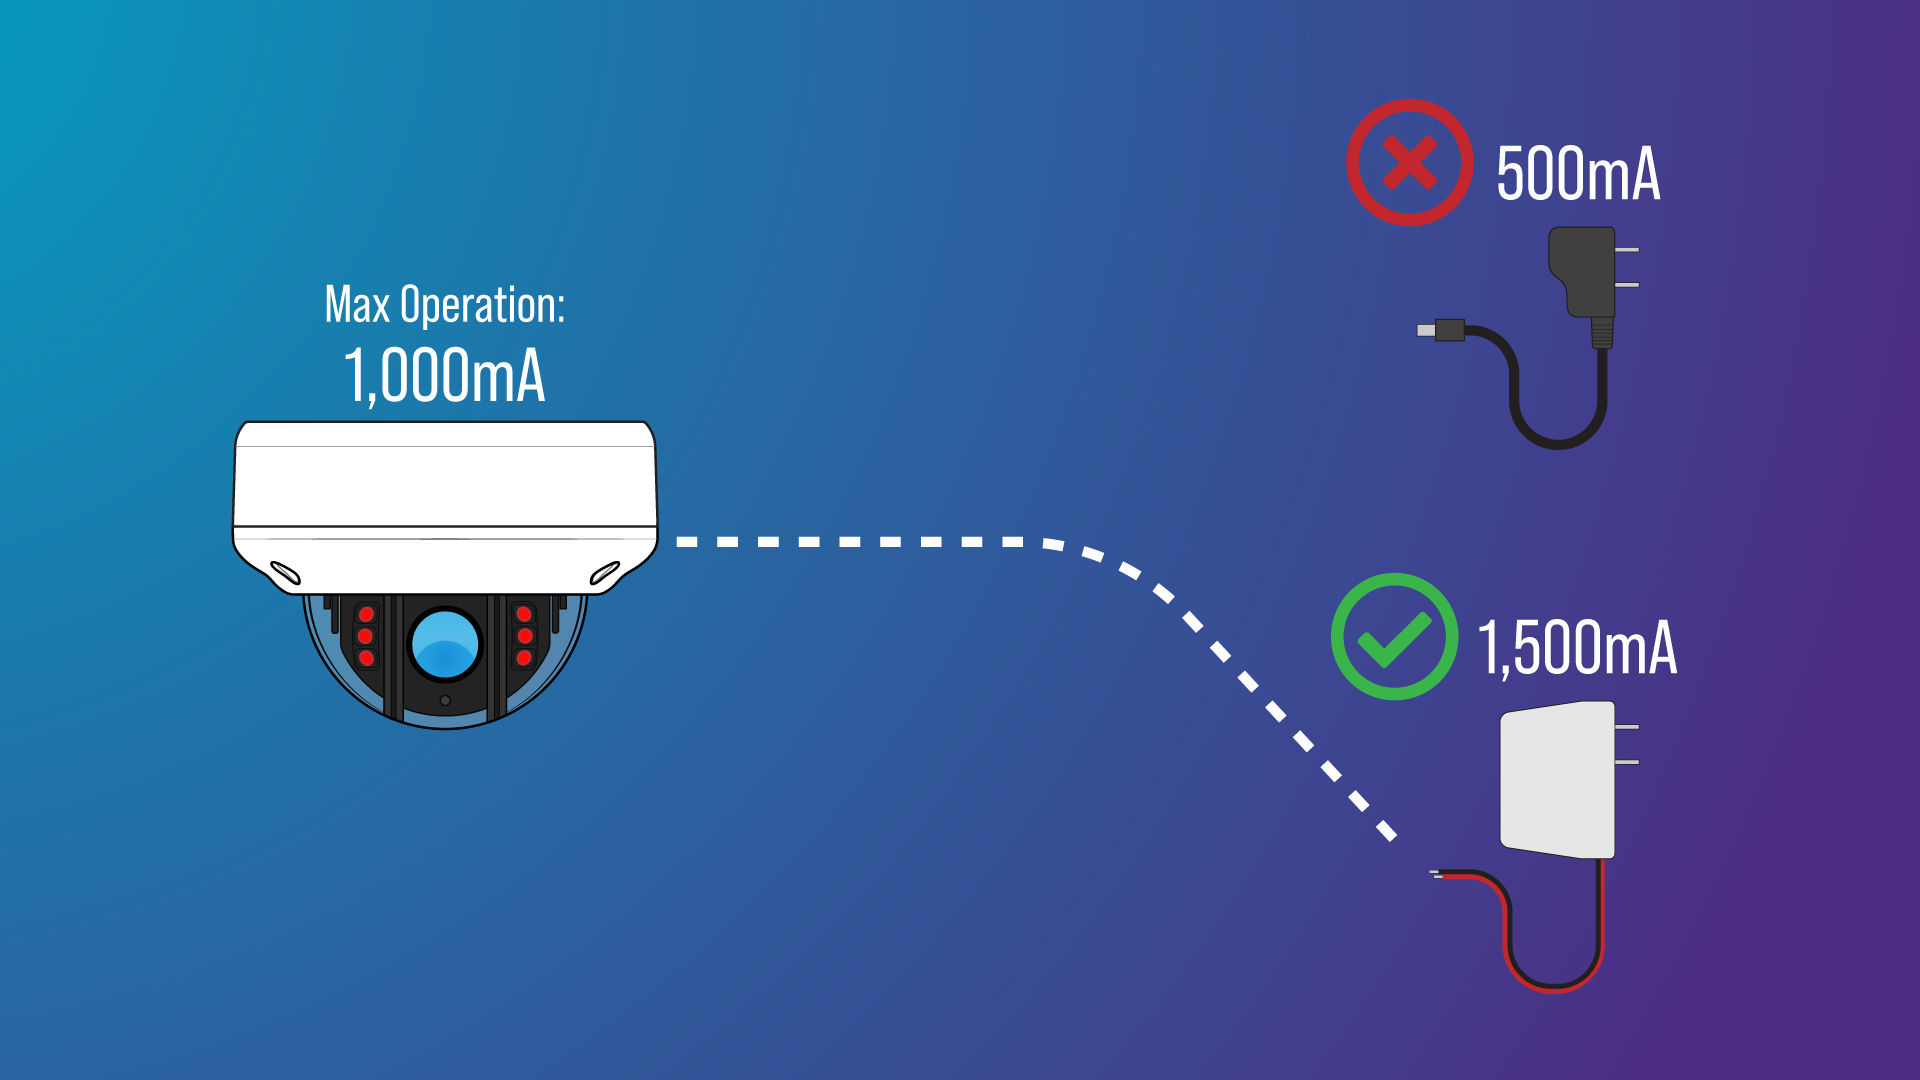
To correct this, the installer should use a 1.5 amp or higher power supply to account for the camera’s maximum power draw.

Tip #4: The 80% Rule
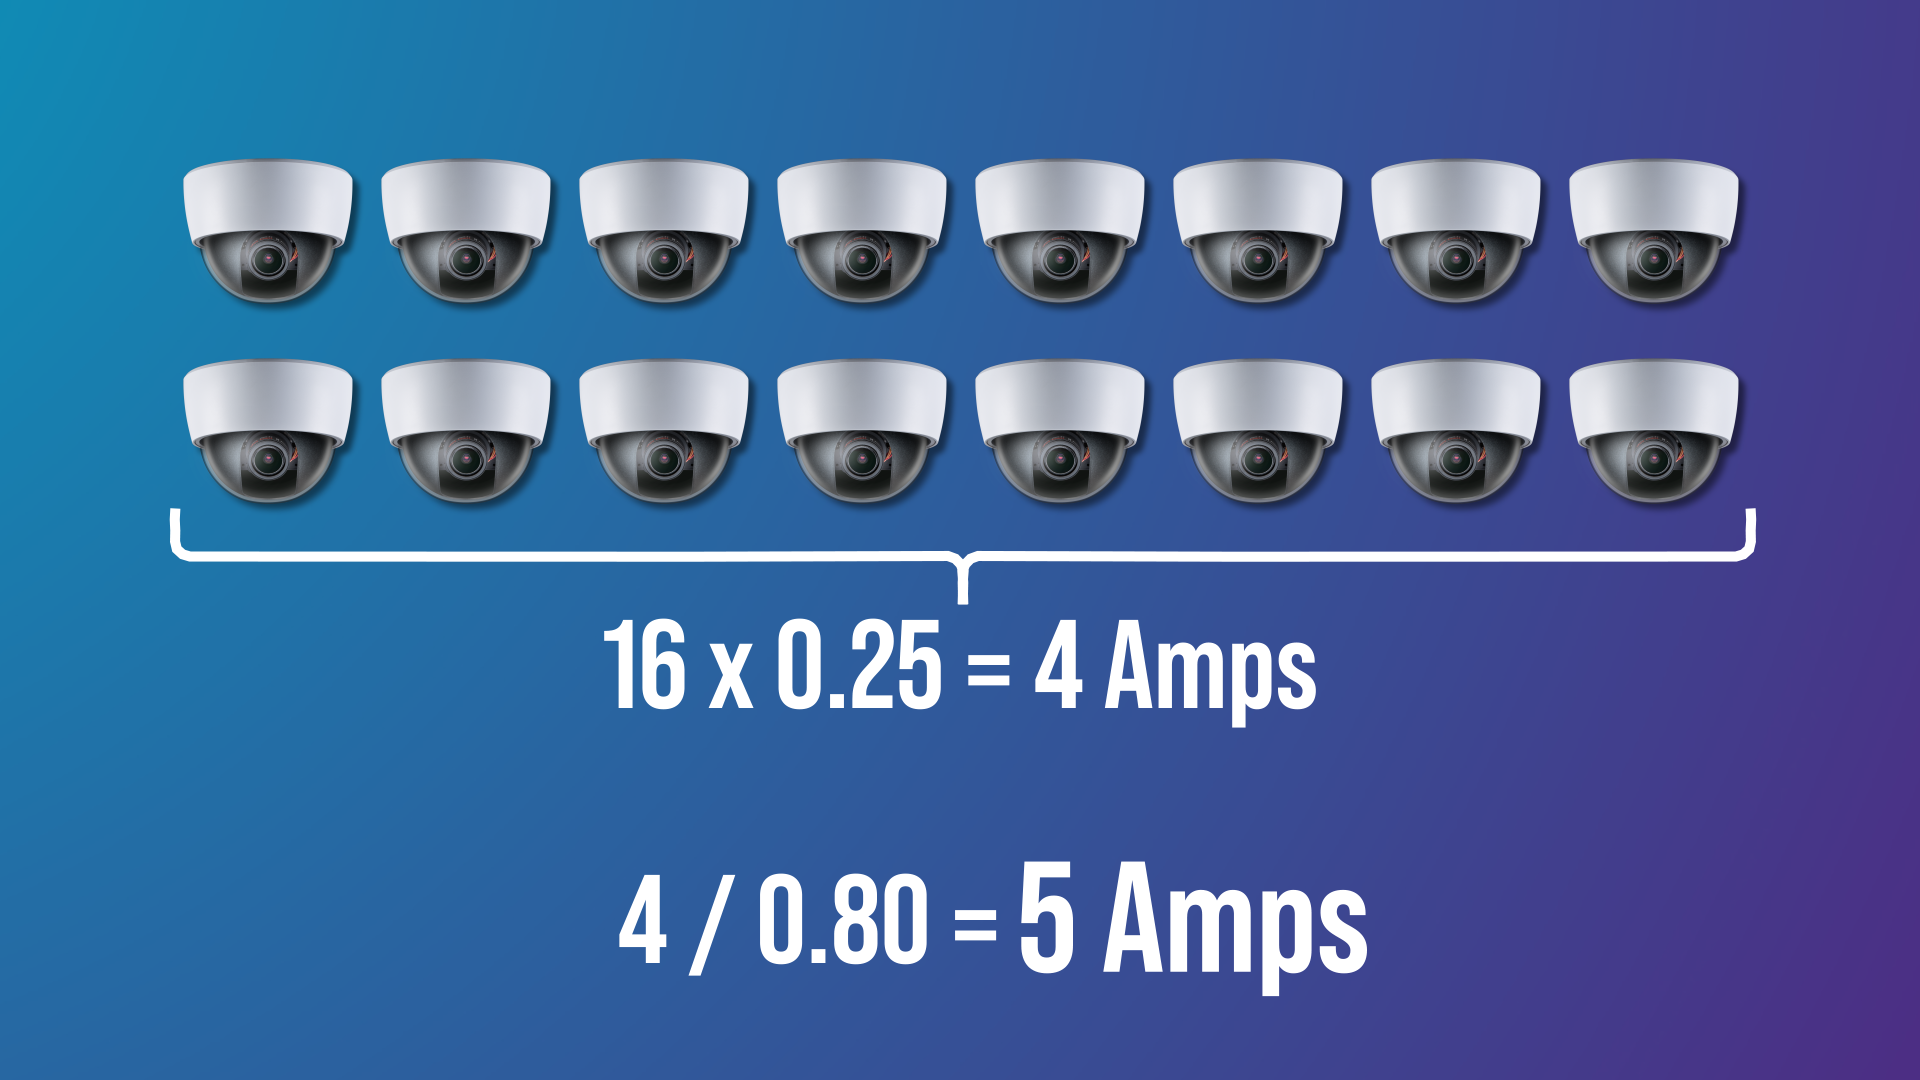
When powering cameras, it is recommended that you use 80 percent of the power supply’s maximum capacity to avoid overload issues.
Assume we have 16 cameras, each drawing 250 mA: 16 cameras x 0.25 mA = 4 Amps
When considering the 80% Rule: 4 Amps / 0.80 = 5 Amps
In order to meet the 80 percent rule, our power supply should have a maximum total power output of at least 5 amps to avoid potential overload.
By adhering to the 80 percent rule, you can ensure the power supply’s longevity and account for any sudden demand for more power, such as when the system is first turned on.
Conclusion
We hope this article has provided you with some useful advice on how to avoid making these common CCTV installation mistakes.
If you need assistance selecting the right power supply for your next installation, please call us at 1-800-447-3306.
WANT TO LEARN MORE?
Contact us today to learn more or request a free catalog below.